New Zealand is one of the best destinations in the world for a road trip! If you find yourself planning one through the north and south islands, you may need to catch the ferry in between. At first, this can seem a bit daunting and overwhelming but, don’t worry, we’ve got you covered! To help you #TravelWell, here’s our guide to absolutely everything you need to know about catching the ferry from Wellington to Picton.
Planning your trip?
•••
Hotels, we use Agoda
Rentals: Discover Cars
Transfers: Welcome Pickups
Insurance: Cover-More
SIM Cards: Simify
I register as an affiliate for anything I use and recommend. Some of the links on this page are affiliate links, which means if you click these links and make a purchase I may earn a commission. This commission comes at no additional cost to you, and in some cases, these links may even unlock savings or give you bonuses I’ve negotiated. You can find out more about this here and here.
Which ferry company should I use?
There are two main ferry companies to choose from, Bluebridge and Interislander. Both operate daily across the Cook Strait from Wellington to Picton and back again. Deciding which one to use is all about finding the company that operates at the best time and rate for you. There are also some differences between the two, which you should take into consideration:
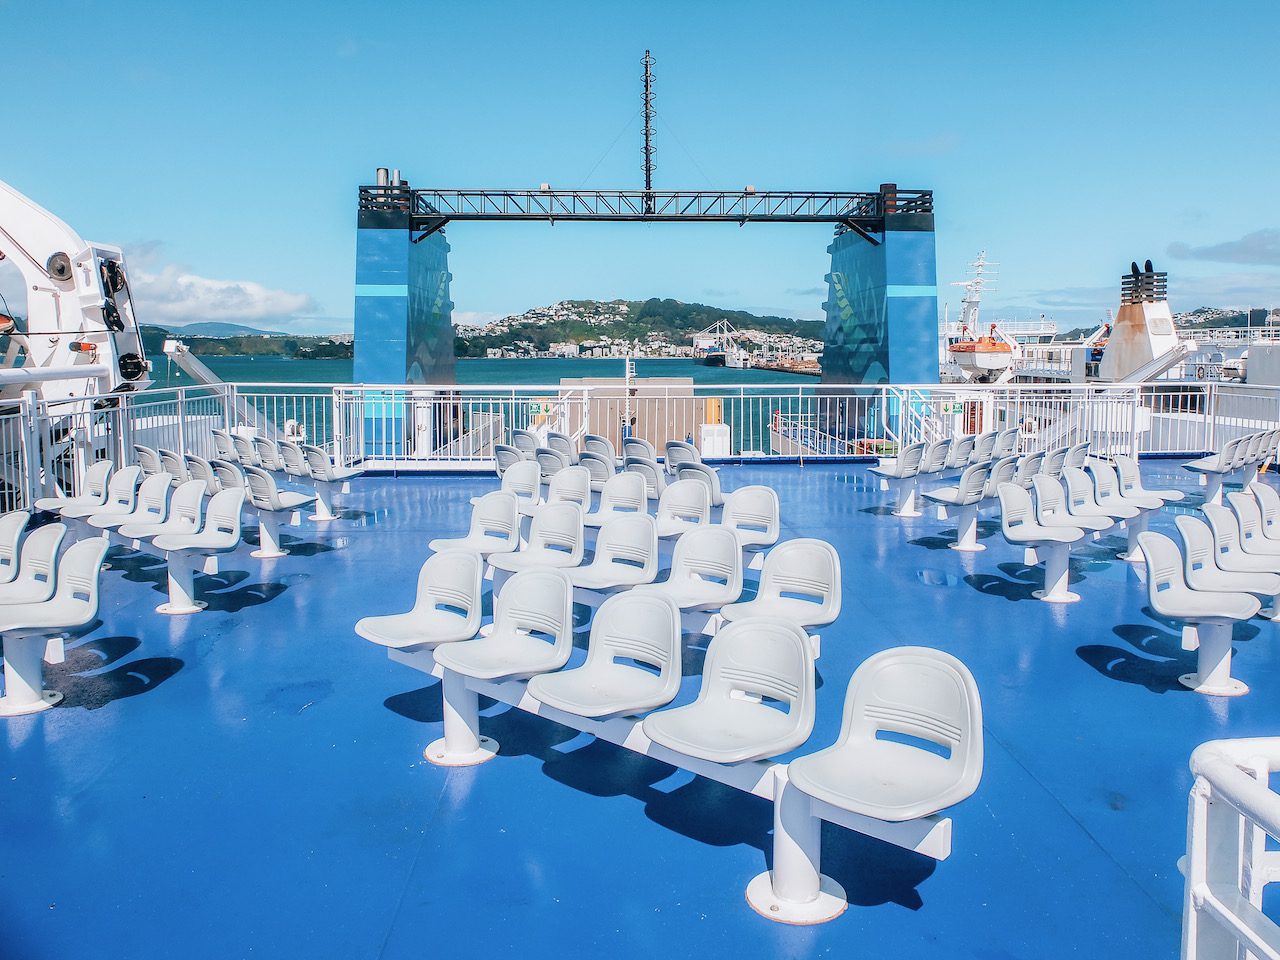
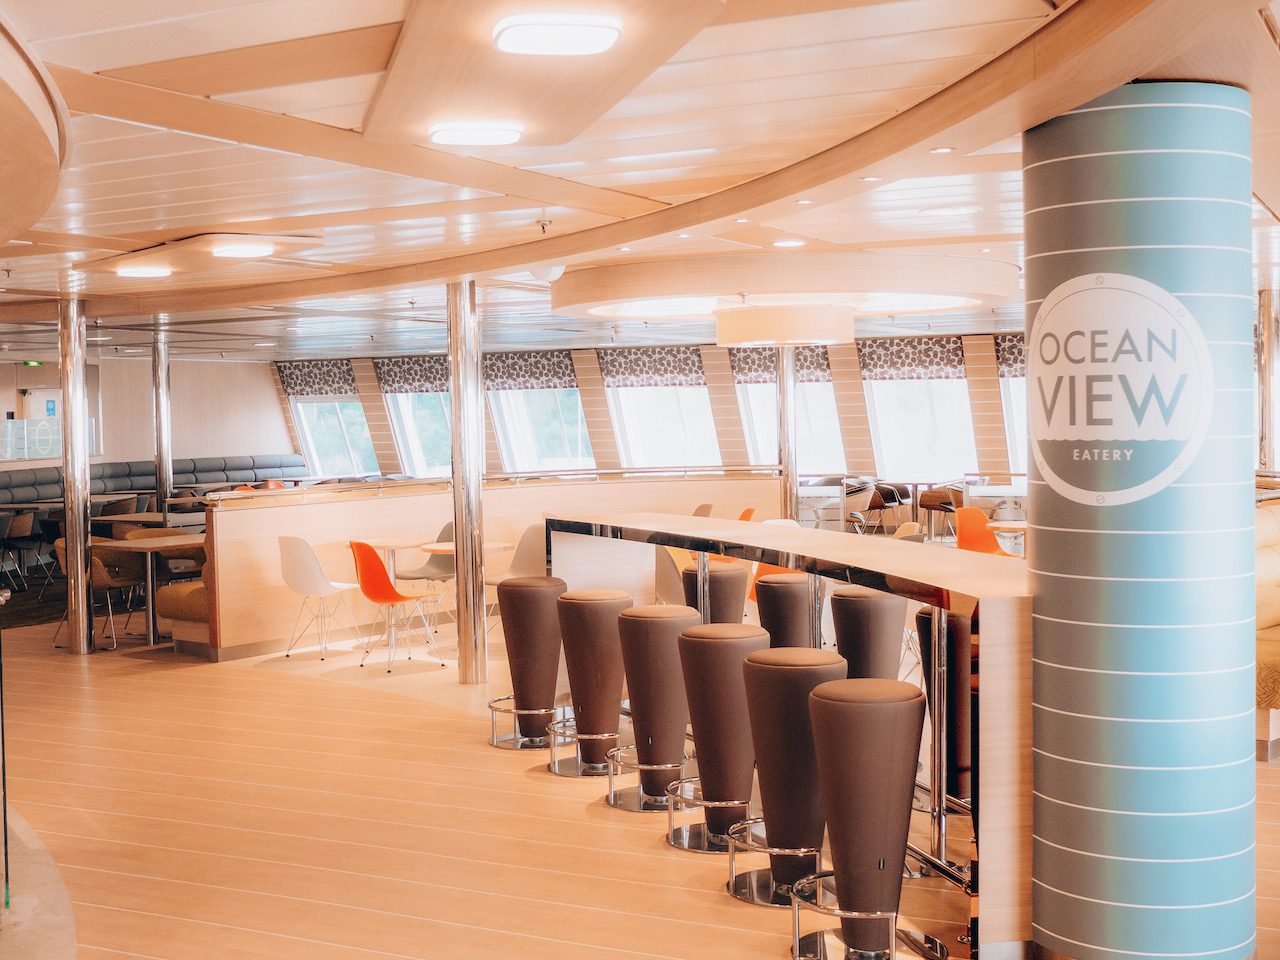
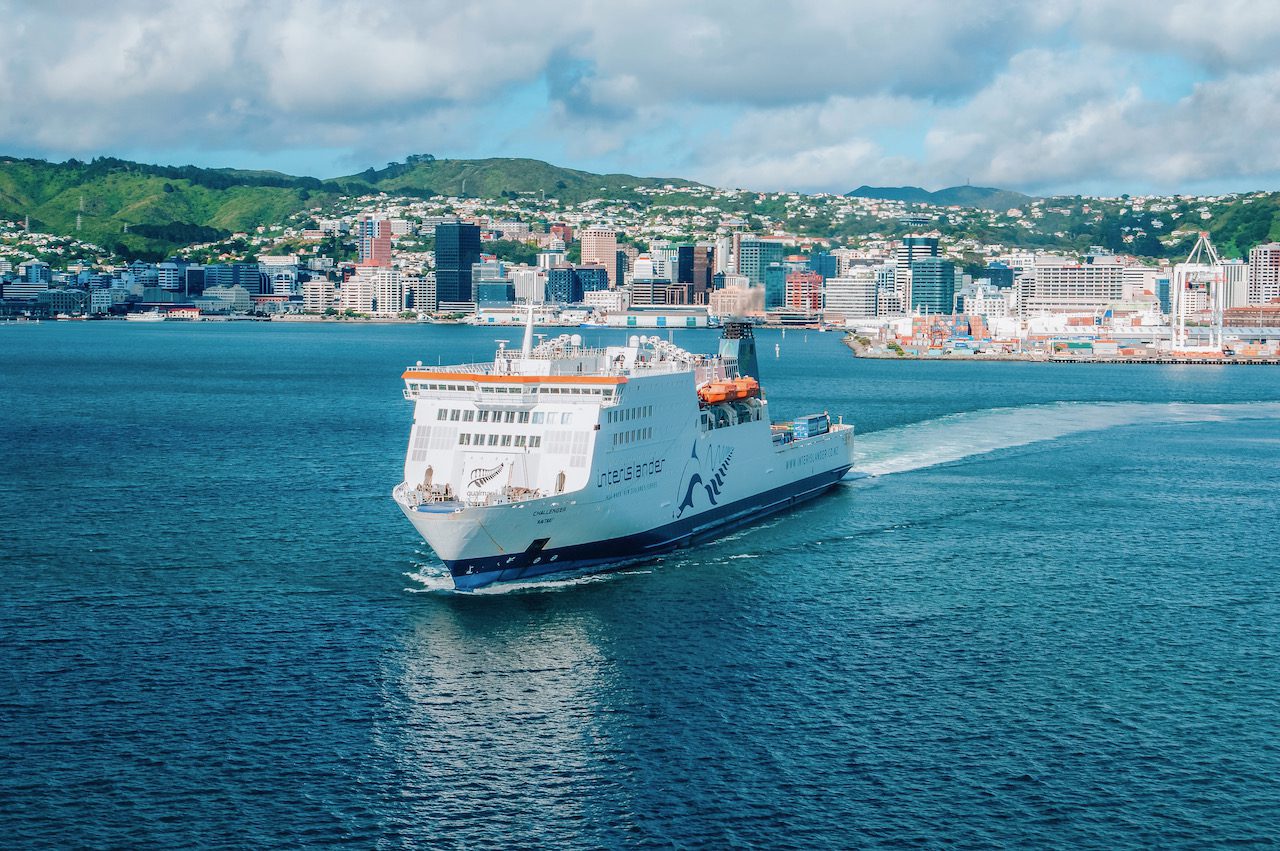
Interislander: There are three ferries in operation (Kaitaki, Aratere and Kaiarahi). Interislander ferries are spacious and modern, with plenty of great spots inside and outside to sit and relax. Kaitake, the largest ferry in operation, can carry 1,400 passengers. There’s a great little store on board selling snacks and essentials as well as a bar, cafe, eatery and children’s play area (aboard Kaitaki).
Bluebridge: There are two ferries in operation (Straitsman and Strait Feronia) each carrying up to 400 passengers. Bluebridge ferries are a little older but still have decking to enjoy the outdoors, dining and lounge areas and plenty of comfy spots to sit.
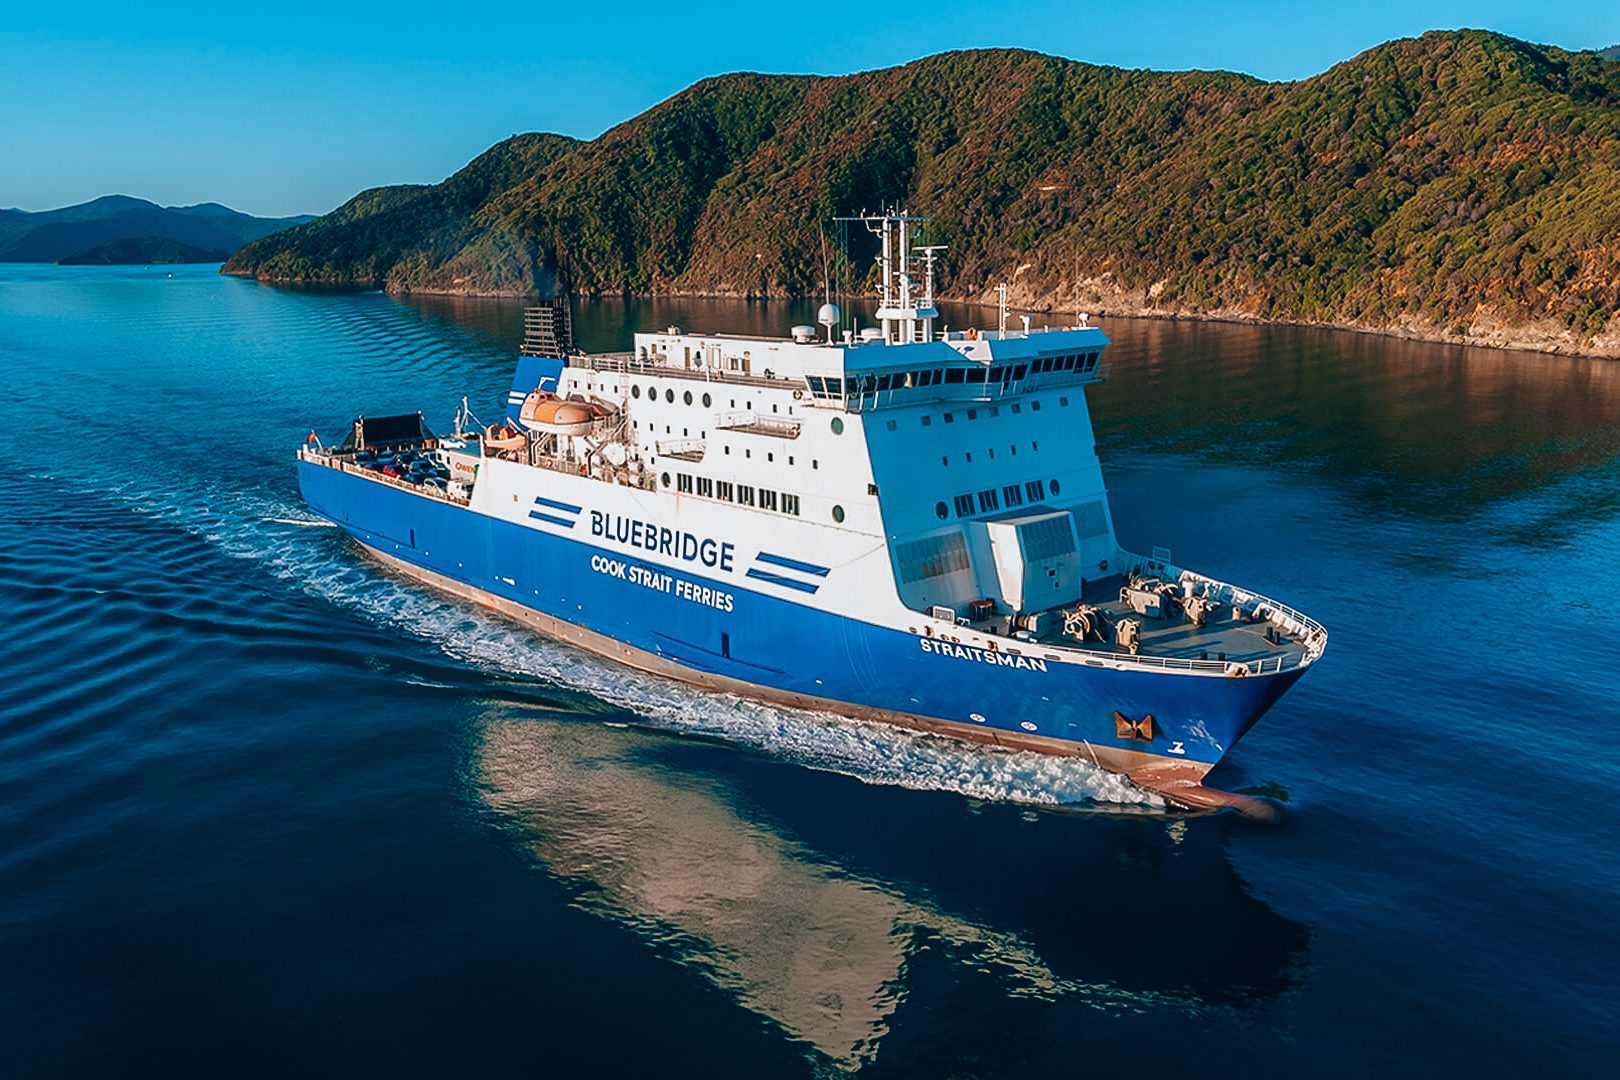
Our choice: I chose to go with Interislander for a few reasons. They offered a departure time from Wellington at 6 am, which worked best with our plan to drive from Picton to Christchurch that same day. When I compared prices, I found the two cost basically the same (2 passengers and a car up to 5m with no pets or towing) so it made sense to go with the time we most wanted for the same price.
We booked our trip with the Interislander here
How do I book the ferry?
We booked online and, whether you go with Interislander or Bluebridge, I’d recommend doing the same. The booking process was easy and fast, with all the confirmation details and subsequent updates delivered to our email inbox.
If you’re concerned about sudden changes to travel and would feel more comfortable knowing you could cancel or change your ticket, be sure to look at the different fare types. There are fare types that will allow for changes and cancellations with a refund provided if needed. You should also check out the standard cancellation and refund policy, just in case.
How much does it cost?
The cost will depend on whether you are walking or driving on, the number of passengers, number of pets, size of vehicle and whether or not you’re towing. So, it’s hard for me to give you an exact cost for your trip. I can, however, share ours!
For 2 x adult passengers, travelling in an SUV (no kids, no pets and no towing), one-way from Wellington Picton we paid NZD$237.66 (Fare: $233 + Credit Card Fee $4.66). We chose a ‘Saver Fare’ which allowed us to change our sailing for a fee and no refund in the event we wanted to cancel. Given we were on a pre-planned road trip, the risk of wanting to cancel was very low.
Where does the ferry depart from in Wellington?
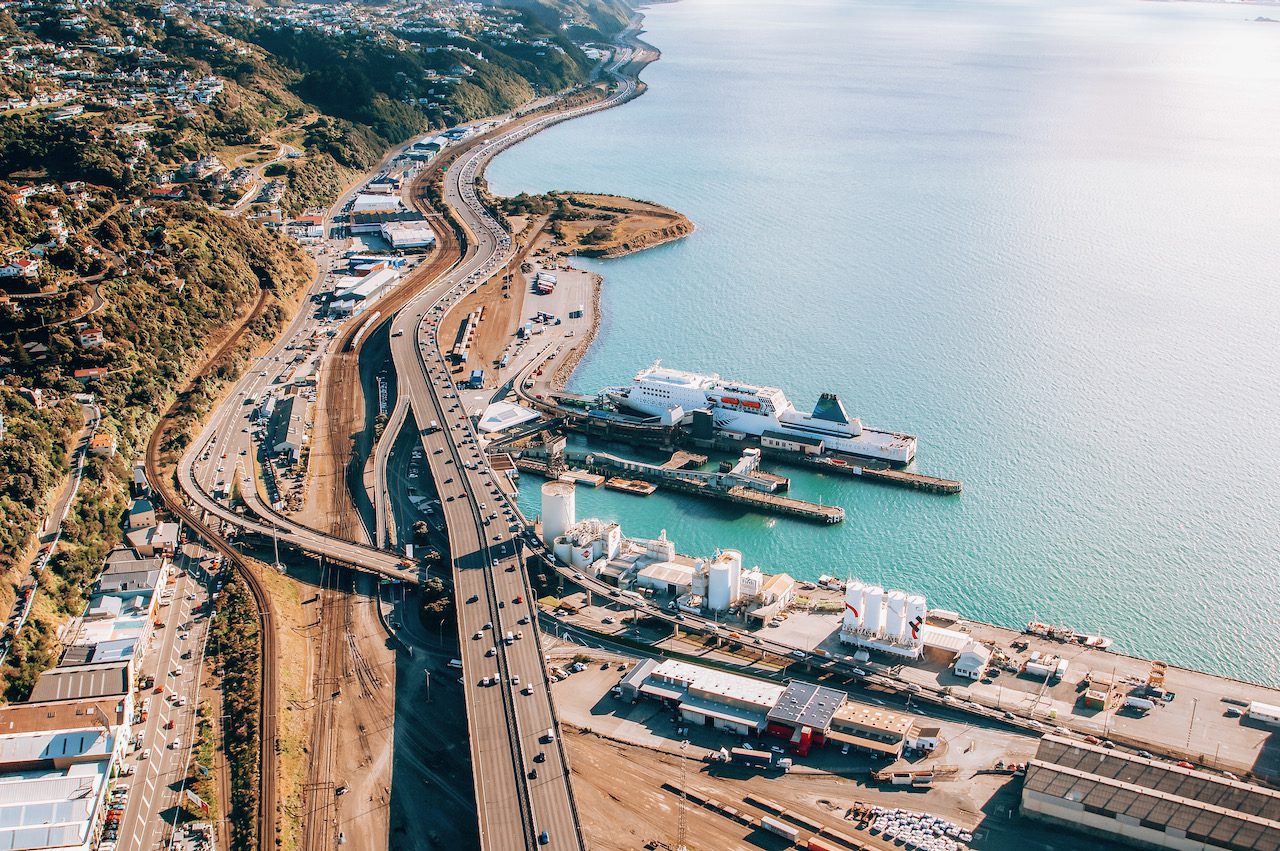
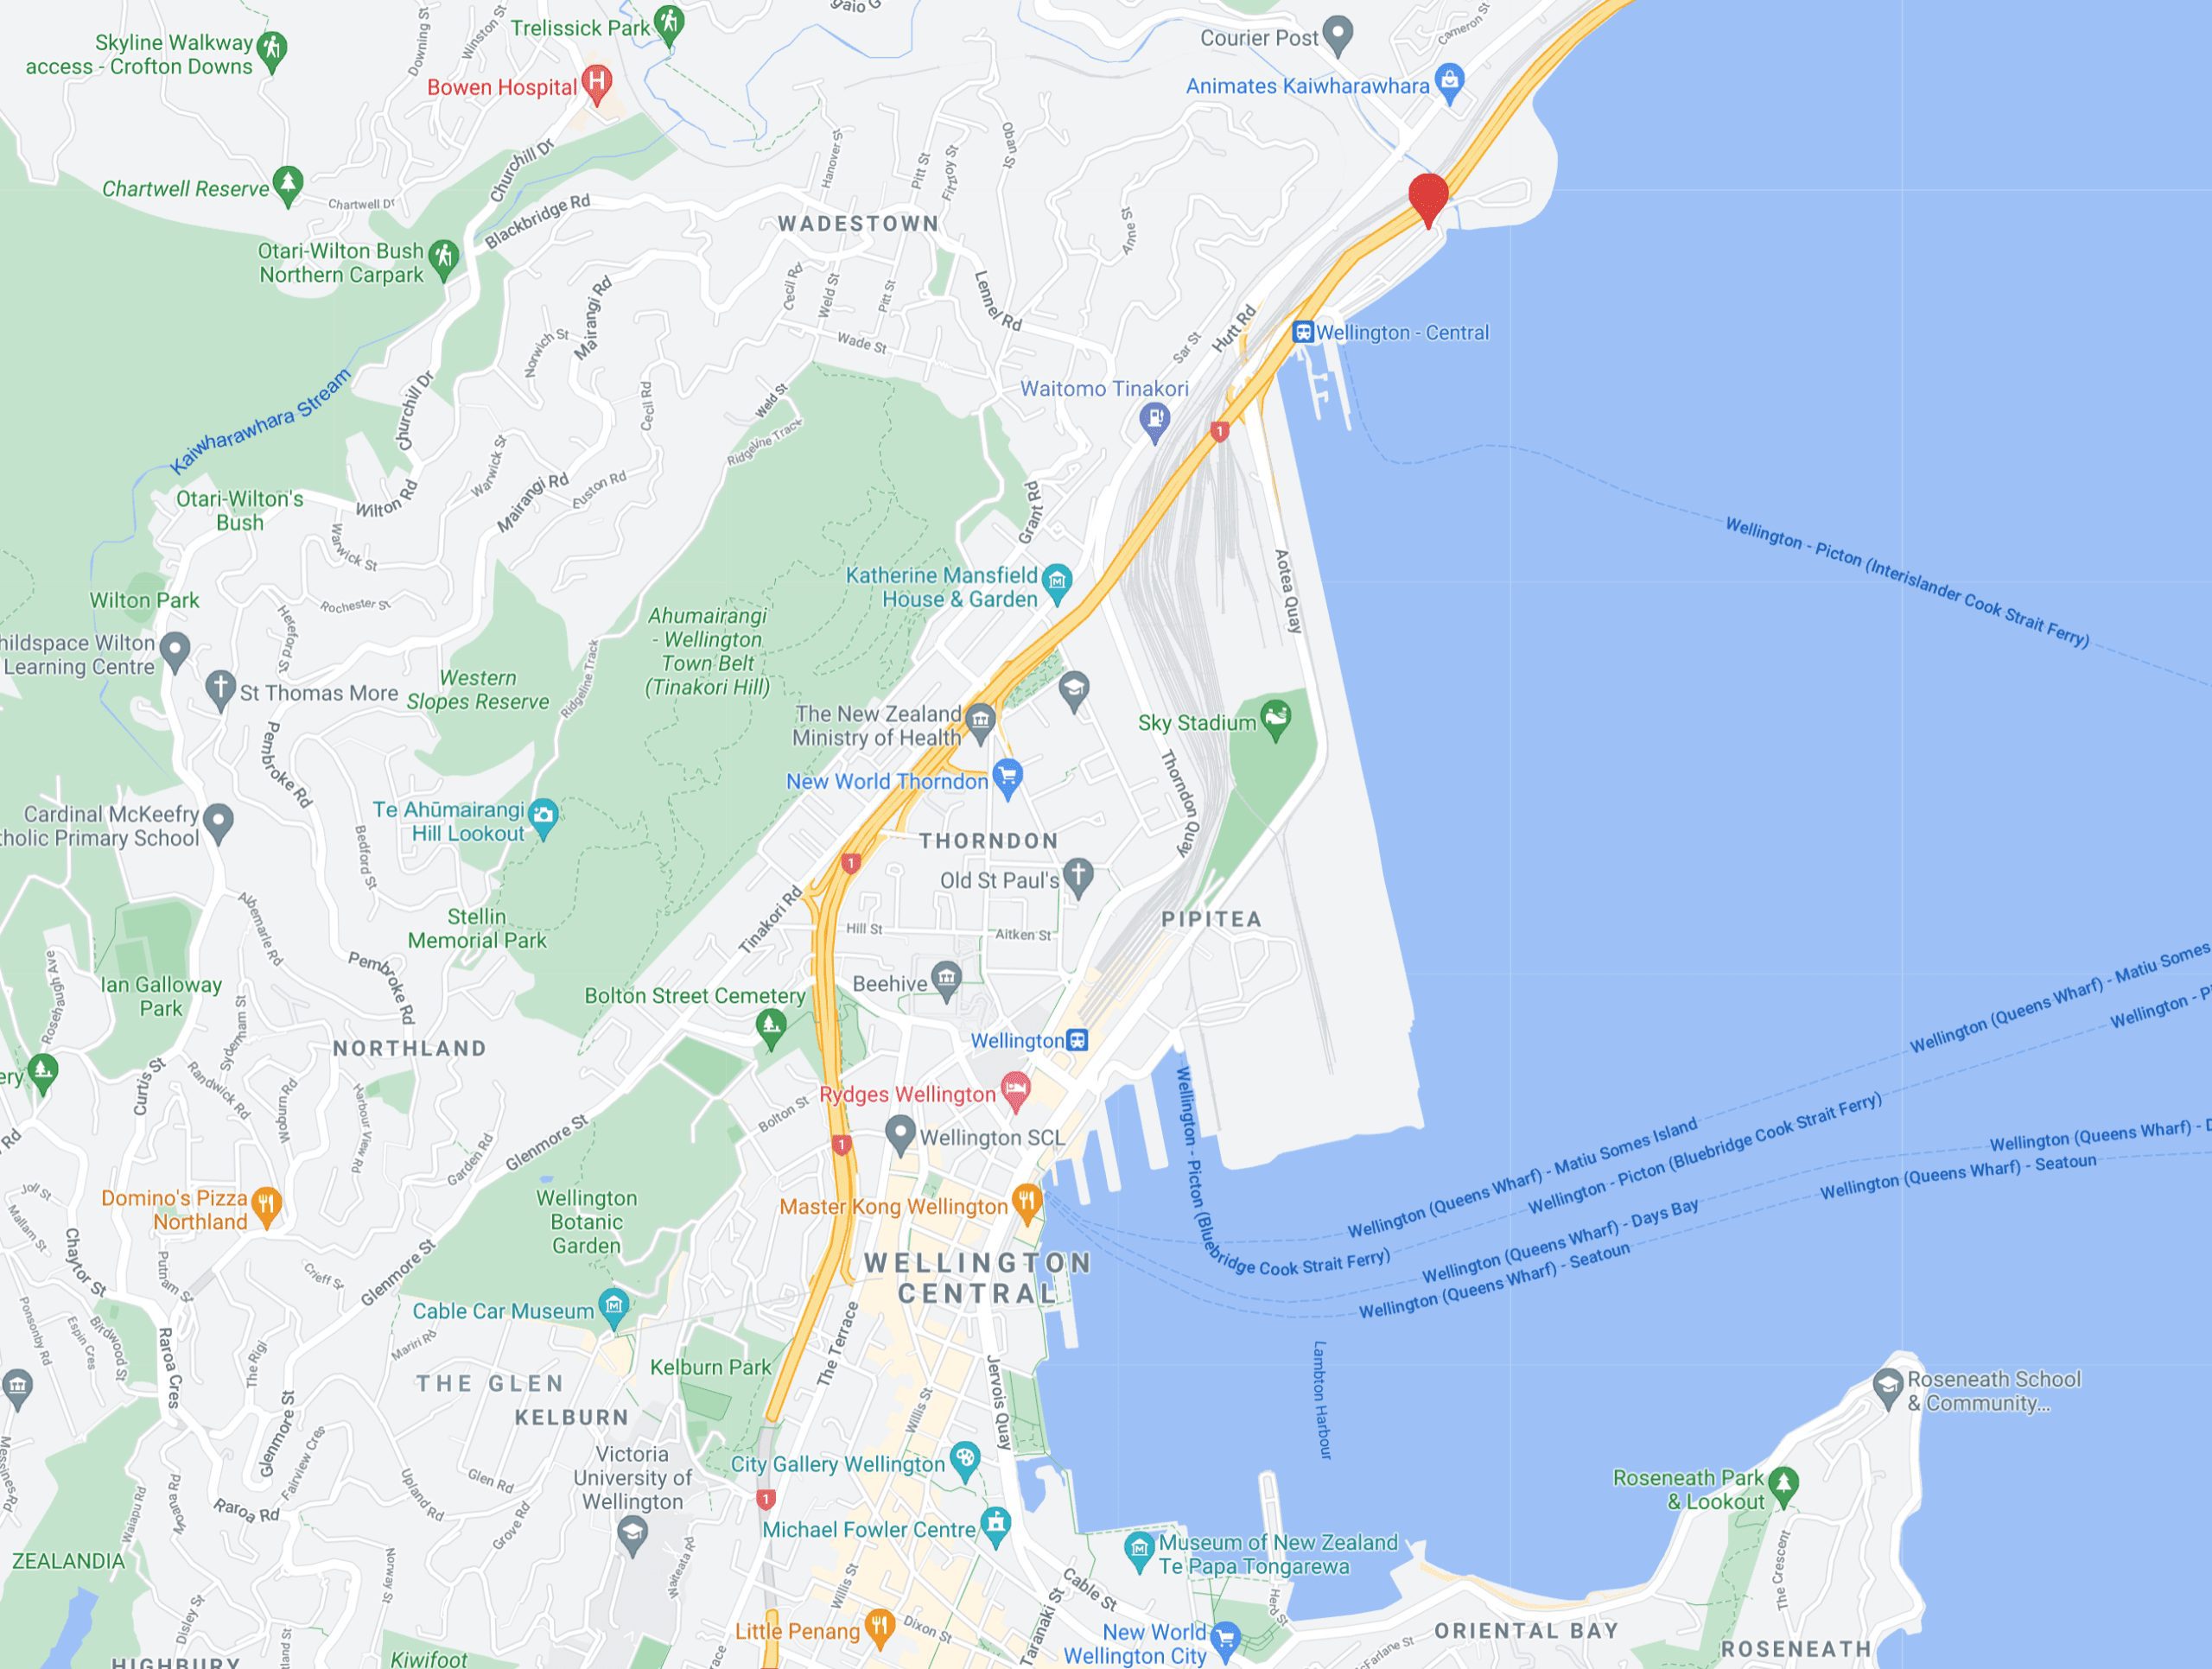
As I mentioned, we travelled with Interislander and I really appreciated the amount of detail on their website about finding the terminal. The Interislander Wellington Terminal is located at Aotea Quay, Pipitea, accessed from Hutt Road. You’ll find an embedded map from Google Maps on their website which includes a link that, when clicked, will open Google Maps on your device. This is great as it ensures you’re going to the right spot!
Check out the red pin toward the top of the map below to get a sense of where the terminal is located in relation to Wellington.
They’ve also created videos which actually take you on the drive to the terminal, showing it from the perspective of driving from the north via SH1 and driving from Wellington City. Personally, I loved this! I always get nervous when it comes to driving somewhere new that has a tight time restriction. Watching the video the night before meant I knew exactly what each exit and turn looked like, so we could find the terminal with zero issues.
Driving directions to Interislander Wellington terminal from the north via SH1:
Driving directions to Interislander Wellington terminal from Wellington City:
How do I check in for the ferry?
When you arrive, you’ll see many other cars lined up to check in and board. Don’t worry, there will be staff on-site to help you with the process. All you need to do is pull up behind the car in front of you and wait your turn. You’ll need to have your booking information and your ID (passport or driver’s licence) handy, so make sure those are out and ready to go rather than packed deep in your suitcase.
As each car ahead of you is checked in you’ll drive forward, until it’s your turn! The staff member will check you in and tell you where to go next. For us, we just needed to drive a few metres to join the lane she had pointed out to us. From there, we sat in our car and waited until we were able to drive on.
You are allowed to get out of your car while waiting to drive onto the ferry. There were people walking their dogs, smoking and using the portable toilets. We opted to sit in the car and wait.
How do I drive onto the ferry?
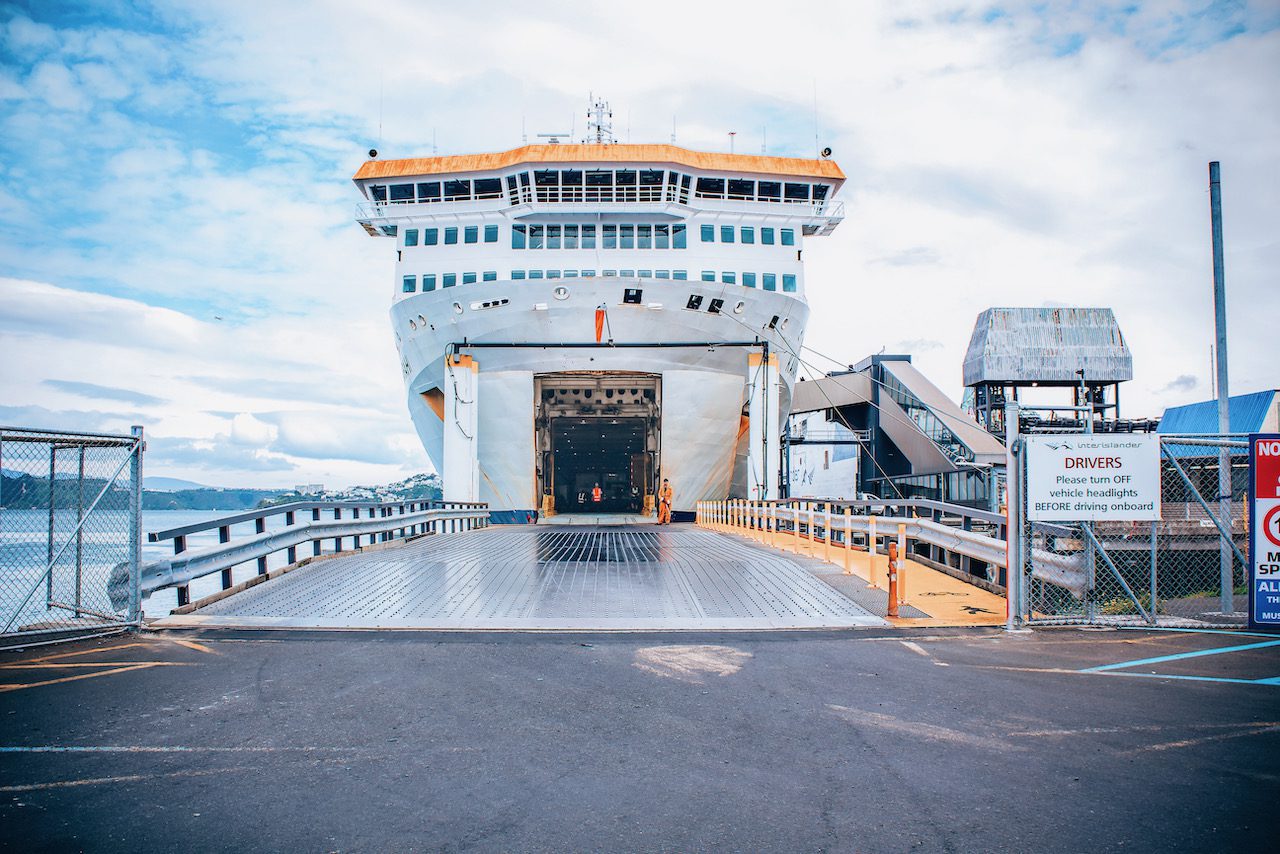
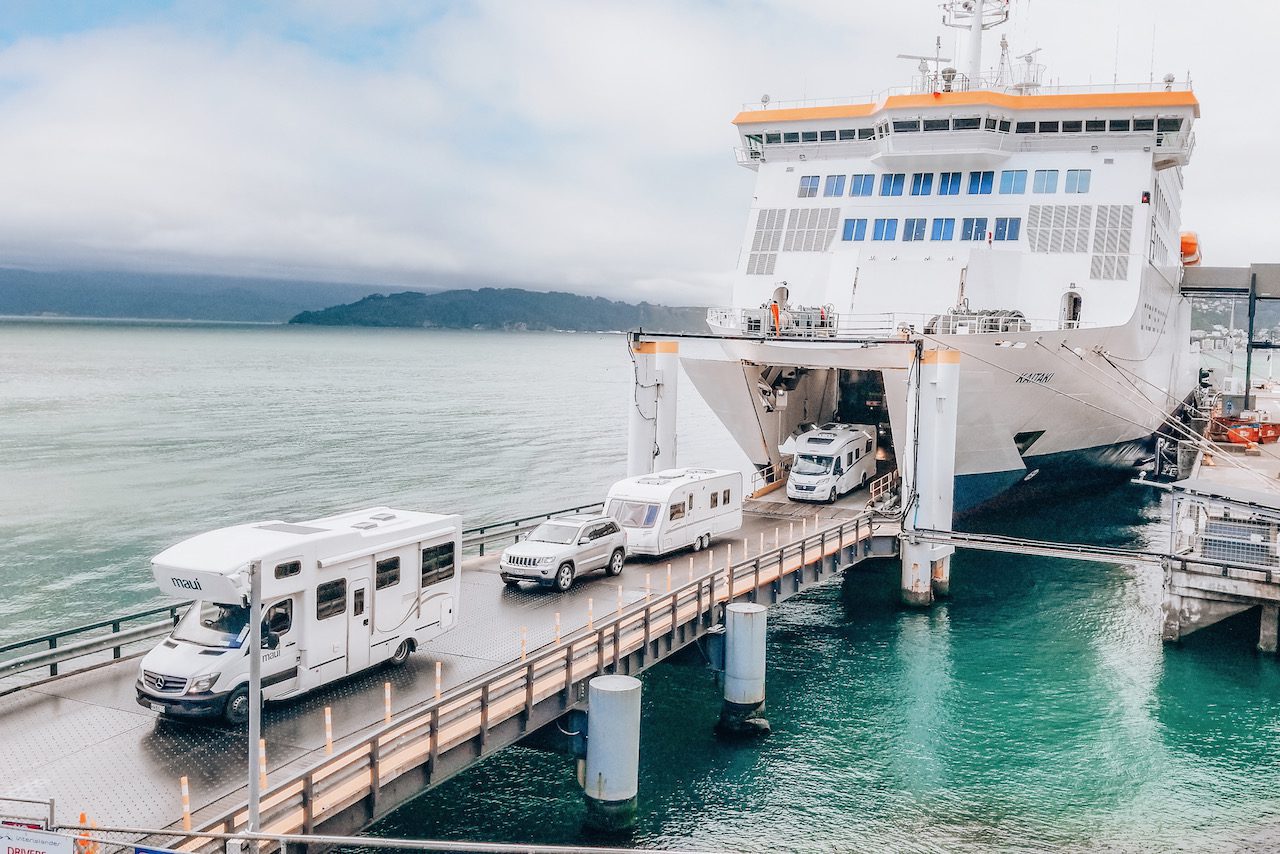
This bit can be intimidating at first but, don’t worry, it’s super easy! The staff are really helpful and will direct you every step of the way. There are no special manoeuvres required, you just drive onto the ferry as you would drive into a regular undercover multi-storey car park, for example. The staff will direct you but you basically just follow the car in front and pay attention to the staff’s instructions. They make sure your car is facing the right way so you just drive straight off on the other side, no reversing etc. It’s really well organised!
How long does it take to get from Wellington to Picton on the ferry?
The journey from the north to the south island should take around 3 1/2 hours. You may like to bring a book to read or ensure you’ve got plenty of battery on your phone or similar so you can put on some headphones and watch movies.
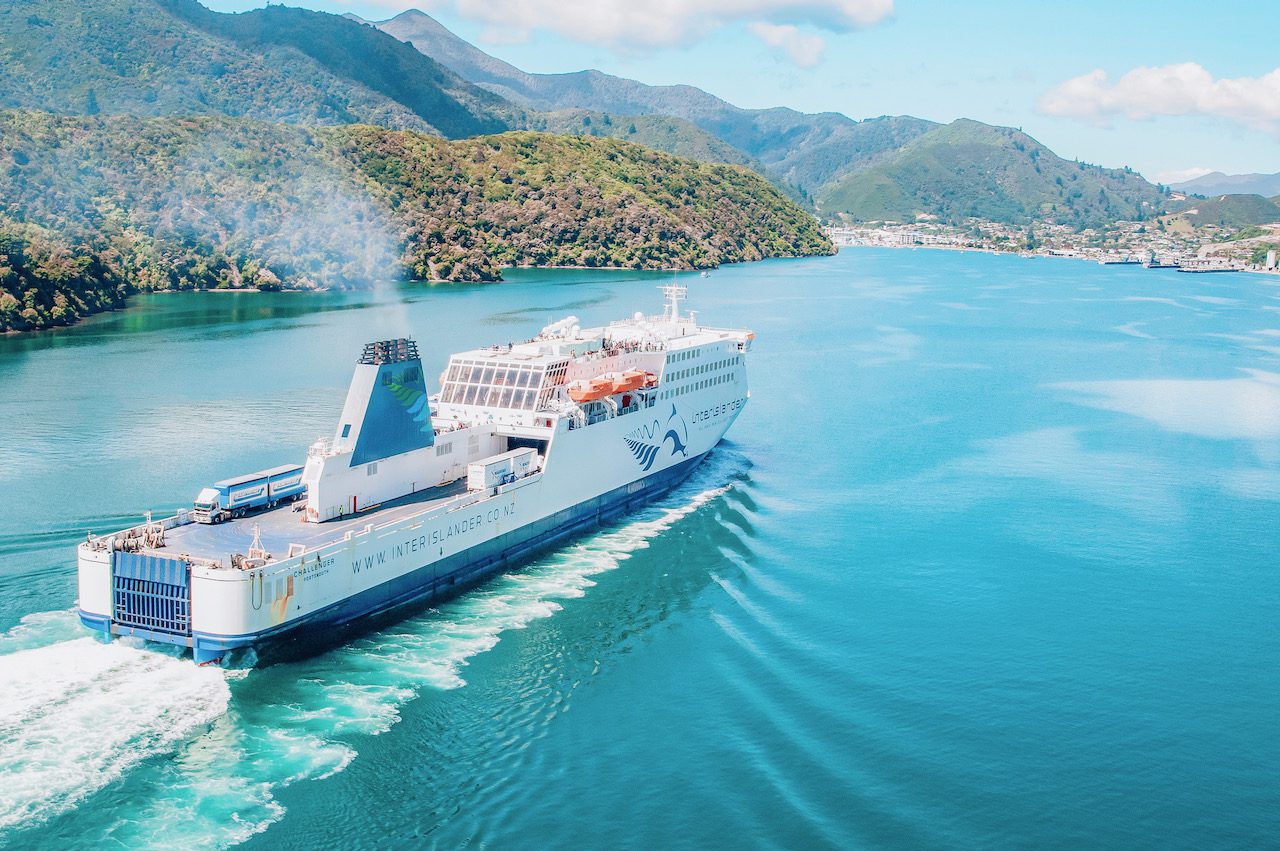
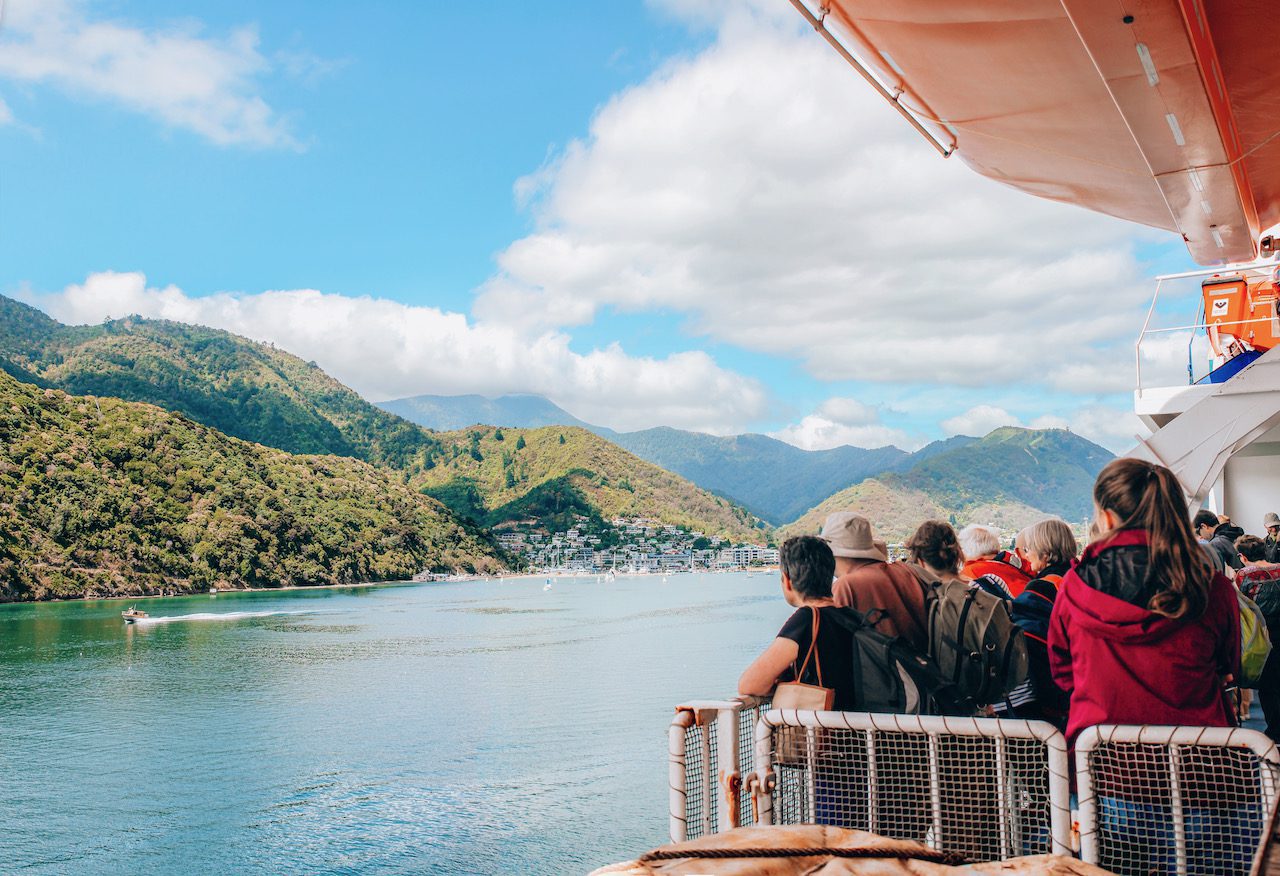
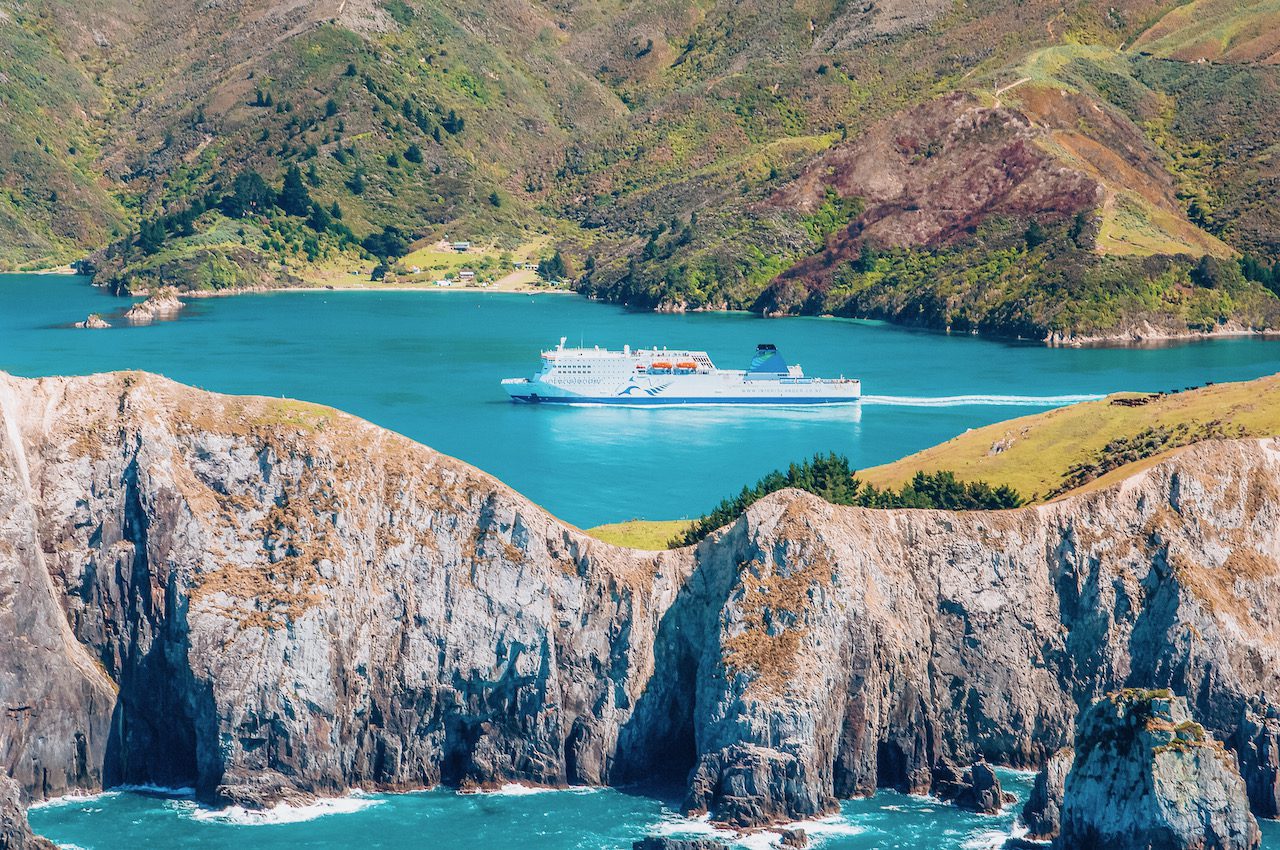
If you get good weather it’s a truly stunning journey! It’s almost like you get to do an amazing day trip aboard a beautiful boat. You’ll float across dazzling bright blue water and rolling green mountains, set amongst a cloud-riddled sky while breathing in all that fresh New Zealand air. In fact, if you’re organised enough, you may like to bring your own picnic to sit outside and enjoy as you go by.
Get connected with a local SIM card from Simify.
Get it delivered before you leave home, ensuring you’re able to connect and navigate as soon as you arrive + find great things to do on the go!
Will I get boat sick?
If you’re reading this part with great interest, I feel you. I get motion sick at the drop of a hat! If that’s you too, you’ll know there’s no sense in risking it. We sailed on a particularly overcast and rainy day and it was a bit choppy on the way out (don’t worry, it was no ‘Perfect Storm’ situation!) To be safe, I purchased some Sea Legs from a pharmacy ahead of time and took the recommended dose.
Must-know tips for catching the ferry
- Once you’ve parked and exited your vehicle, you cannot go back to it until it’s time to disembark so make sure you have everything you need with you, including snacks, entertainment and essential medication.
- Have all those items ready to go in a day bag, so you can grab it and go as soon as you’ve parked
- Be sure to arrive at least an hour ahead of your check-in time
- Have your booking details and ID out and ready to go for check-in
- There is complimentary wifi on board but we found it was pretty slow and only 500 MB! Instead, you may want to get a local sim like we did from SimsDirect and/or have shows or music downloaded to your device
- Cut back on costs by bringing your own snacks to enjoy onboard
- Wear comfortable clothing you can sit or sleep in for 3 hours and consider bringing a big jacket or pillow if you plan to sleep.
- The ferry can be delayed! Ours was delayed for nearly 2 hours and we didn’t find out until shortly before check-in time. So, be prepared for anything to happen and ensure your plans for the rest of the day aren’t too time sensitive.
Hiring a car? We recommend booking it here
Arriving in Picton
The terminal in Wellington was very industrial whereas, in Picton, it’s a gorgeous seaside town. There are plenty of great cafes, restaurants and bars to visit as well as convenience and grocery stores and fuel/gas stations. We wanted to grab a bite to eat so stopped off at Toastie, a great little spot specialising in gourmet toasties, coffee and speciality sodas. Afterwards, we began our drive to Christchurch, which took around 4 1/2 hours with an additional stop at the seal colony near Kaikoura and a second coffee stop in Kaikoura.

The Verdict
I spent a lot of time researching the ferry journey and was quite nervous about finding the terminal and potentially being late. In the end, I had nothing to worry about. All the information about how to find the terminal was very helpful and we got there easily!
Personally, I was very happy with Interislander, other than the unexpected 2-hour delay. It wasn’t ideal but it’s just one of those things that happens sometimes when you’re travelling. I really liked how big, spacious and clean the boat was with plenty of spots to sit outside and inside. If I were booking again, I’d still go with Interislander but, as I said, the most important thing is finding a ferry that works for itinerary and budget.
Best travel resources for your trip!
If you found this post useful, please use the affiliate links below. I’ll make a small commission at no extra cost to you. Rest assured, these are the products and services I love and use. Read the disclaimer for more information. Thanks for your support! – Matt.
Agoda – hotels
Booking.com – hotels
Cover-More – insurance
DiDi – rideshare
Motorhome Republic – RVs
Discover Cars – rentals
Simify – SIM cards
Skyscanner – flights
Surfshark – VPN
TourRadar – tours
Welcome Pickups – transfers
Klook.com
